Welcome to BitMedic, the #1 AntiVirus App on the Mac App Store (now with Adware Protection!)
We take pride in bringing you the best protection for your Mac. We are the only AntiVirus app that is USA based, awarded, tested, and certified.
https://www.opswat.com/partners/pocket-bits
https://www.av-comparatives.org/vendors/pocketbits/
Testing Your App
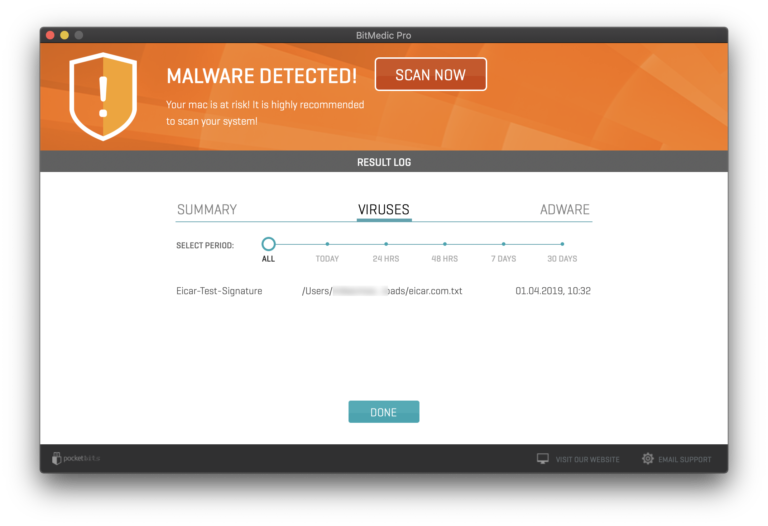
To test to see if your app is correctly scanning for viruses, download the EICAR virus test file.
Learn more here – https://en.wikipedia.org/wiki/EICAR_test_file
Direct download link – https://secure.eicar.org/eicar.com.txt
This will link you to download the EICAR (European Institute for Computer Antivirus Research) test file. This file is harmless and is used for testing purposes only.
You can test any Antivirus app and all the features of BitMedic with this file.
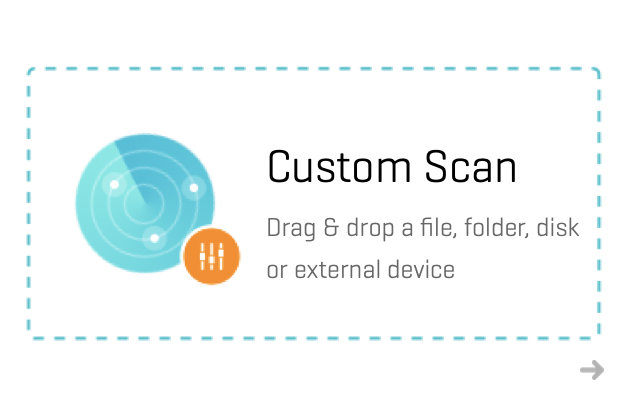
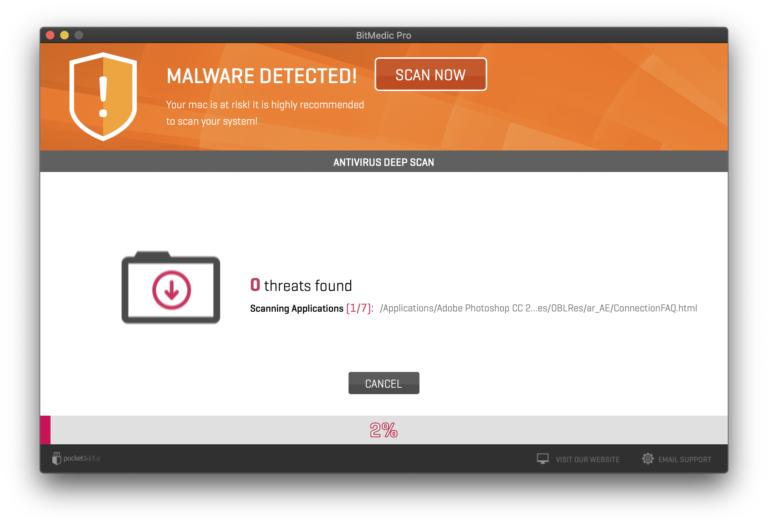
For a quick test, simply Drag & Drop this file into the center “Drop Here” under custom scan.
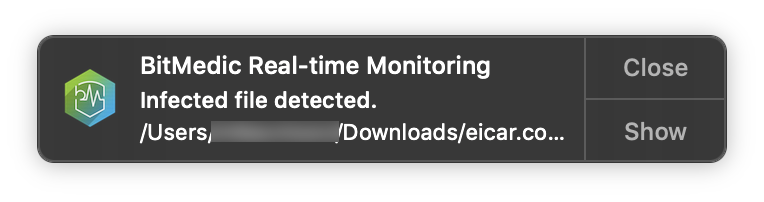
To test Health Monitor, make sure it is turned “On” by clicking the menubar icon and “Turn On”. (Pro Tip: right click to instantly turn on/off) If the file is downloaded to your “downloads” folder on your Mac, Health Monitor should detect this automatically and you will see an alert.


Congrats on hopefully having removed your adware with BitMedic! Now that you’re Mac has been restored, you’ll probably want to prevent any more adware coming back.
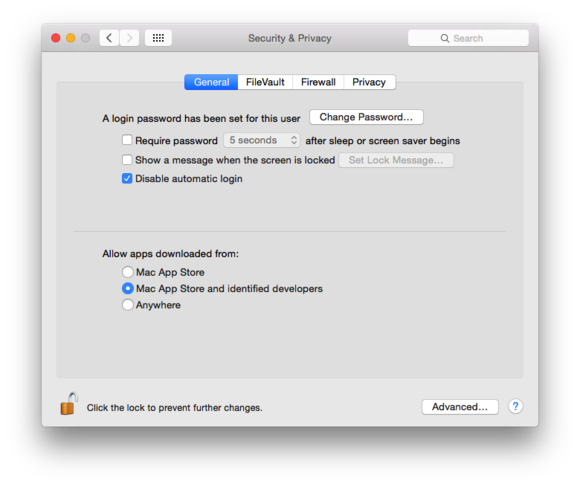
The most effective thing you should do right away is navigate to Settings -> Security & Privacy. Click the Lock icon at the bottom and then switch your setting on the bottom to allow apps downloaded from “Mac App Store” or “Mac App Store and identified developers.”
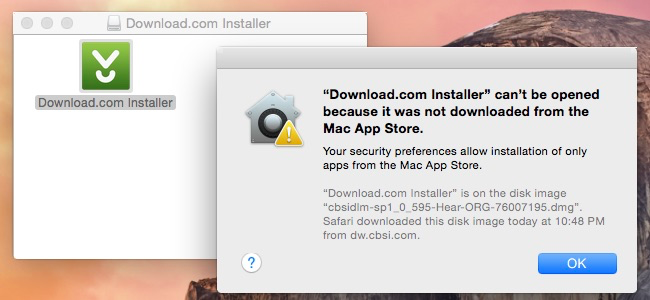
Now when you try to install anything that isn’t in the App Store or an identified developer, you’ll get a pop-up message that says it can’t be opened.
Another useful tool is installing an AdBlock extension for your web browser to prevent popup ads.
Still infected with Adware? Need not worry! You can always try resetting your browser preferences to default. Get that fresh start of when you first opened Safari. 🙂
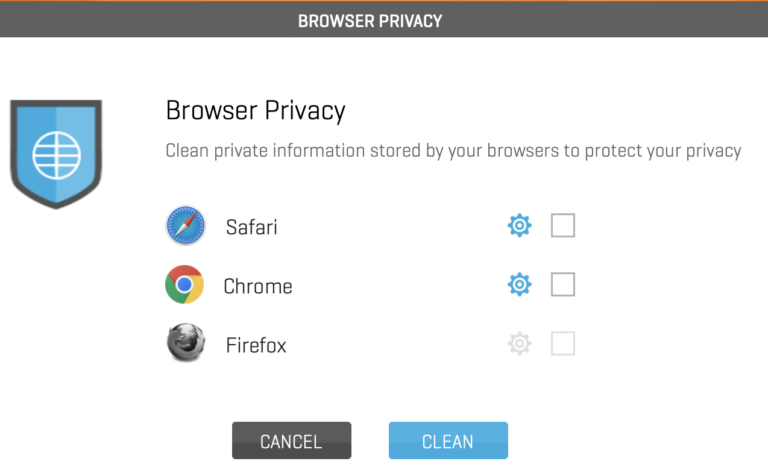
Open “Browser Privacy”. We recommend removing all your browser extensions to make sure you remove all possible Adware. Remember, this will also clear your “Good” extensions that you oh-so-dearly love too. You’ll have to reinstall these.
Select your browser (Safari in our example). Make sure “Remove all extensions” and “Reset Preferences” is turned “on”
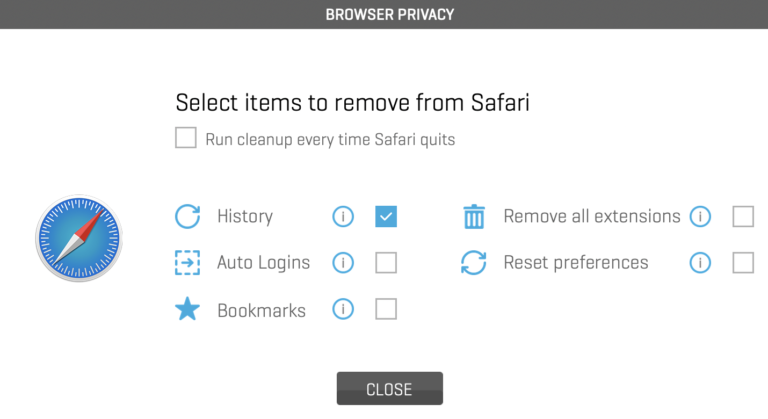
Then click “close” to go back and hit “Clean”.
Make sure your browsers are closed too, or it’ll remind you to close them.
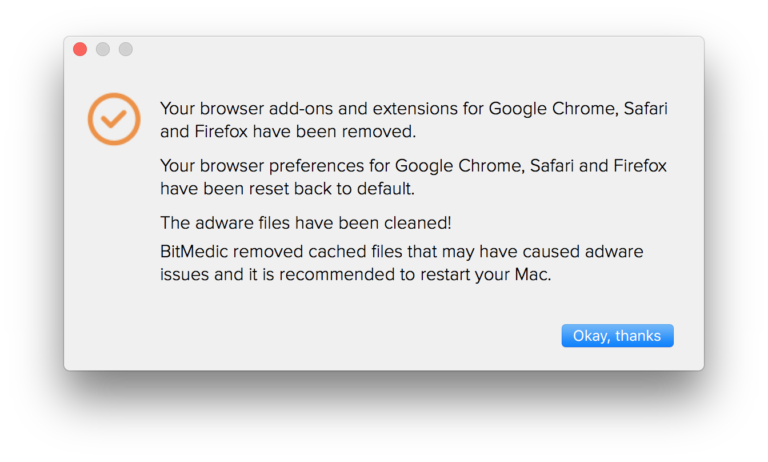
It’ll then clear your browser extensions and reset your browser preferences to default.
Congrats!
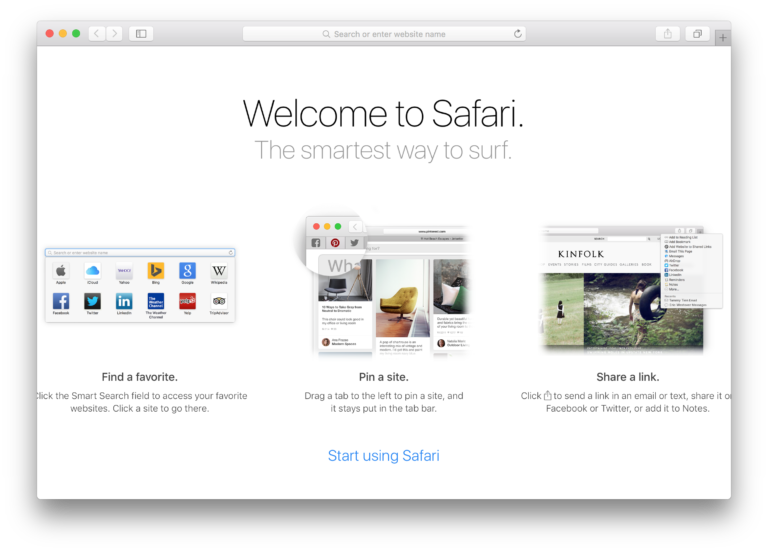
Safari should be as good as new! Make sure it looks like this when you open Safari. Don’t worry, your saved passwords haven’t been reset. You still have them. 🙂
Congratulations, you should now know how to remove all adware and restore your browser back to default. Protect your Mac and your sensitive information by scanning at least once a week.
See tips on “How to PREVENT adware” to protect yourself.
http://support.pocketbitsllc.com/customer/portal/articles/2141506-how-to-prevent-adware
If you are still having adware issues, this article may help.
For any additional questions, please email us at support@pocketbits.com
Hope you found this helpful! Let us know below, so we can improve our support. 🙂
See Wikipedia – https://en.wikipedia.org/wiki/EICAR_test_file
This test file is harmless and not a virus. Use it to test the integrity of AntiVirus apps. If the app can’t detect this simple file, then it is probably not an accurate AntiVirus app. Unfortunately there are a lot of apps out there that claim to be “AntiVirus” apps, but many fail to detect even the most basic files.
Our 3 step protection ensures the best security
Choose “Quick Scan” to quickly scan your Mac for any potential threats.
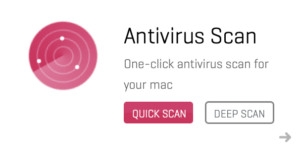
If you have more time, choose “Deep Scan“. This will take a long time (up to 2 hours for 1TB drives), so make sure you have the time to leave your computer on while BitMedic is scanning. BitMedic will scan every nook and cranny for any potential threats. We recommend “Quick Scan“, since this will scan your critical locations only to make sure you are safe.
You can also use the Drag & Drop feature for quick scanning specific locations
Simply drag & drop any folder, drive, or file here.

For 24/7 live protection, use BitMedic’s Real Time Health Monitor
Health Monitor watches selected locations 24/7 for any changes. It will automatically detect any harmful changes and any viruses. Remember, this applies to changes only. We recommend scanning the folder first to ensure that it is 100% virus-free and then monitoring it after.
If BitMedic does detect a virus, it will automatically quarantine the file for your safety. You can access your history from the Results Log.
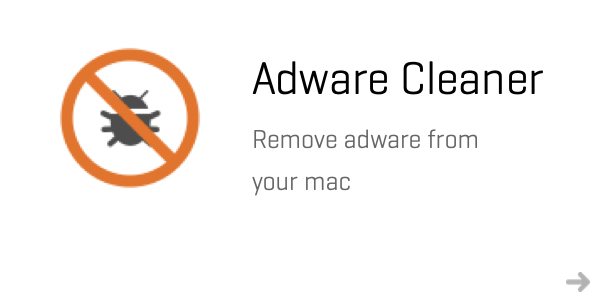
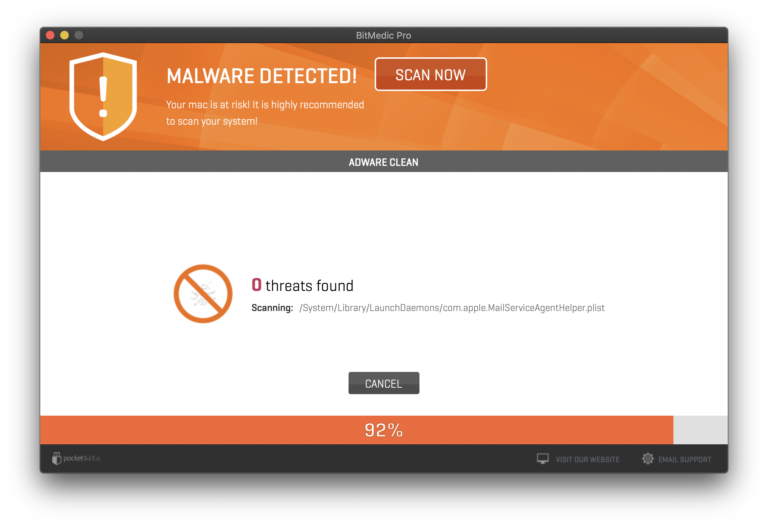
Remember to also scan for adware for additional security
Click “Adware Scan” to scan your Mac for harmful adware and remove them.
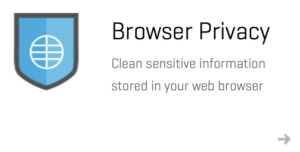
Browser Privacy is great for clearing sensitive information and cleaning adware-like symptoms
Click “Browser Privacy” to select your browsers to clean.
If you are experiencing adware-like symptoms, we suggest selecting “Remove all extensions”.
Remember that this will remove ALL of your browser extensions, so you’ll have to re-install the extensions that you like. It is common for adware to hide under browser extensions, so this is important to clean.
Adware sometimes will also alter your browser settings. “Reset preferences” to restore your browser preferences back to default like brand new.
Congratulations, you should now know how to remove malware and adware. Protect your Mac and your sensitive information by scanning at least once a week.
See tips on “How to PREVENT adware” to protect yourself.
http://support.pocketbitsllc.com/customer/portal/articles/2141506-how-to-prevent-adware
You can also set your browser to automatically clean every time it quits. For Safari, just select “Run cleanup every time Safari quits” and it will run all selected tasks.

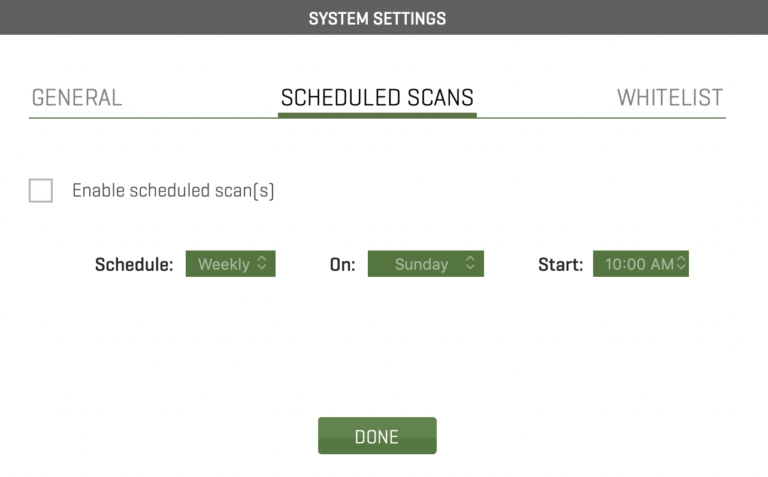
You can also set scheduled antivirus scans to automatically scan for viruses. Just navigate to “System Settings”.

Click “Enable schedule scans” and set your schedule.
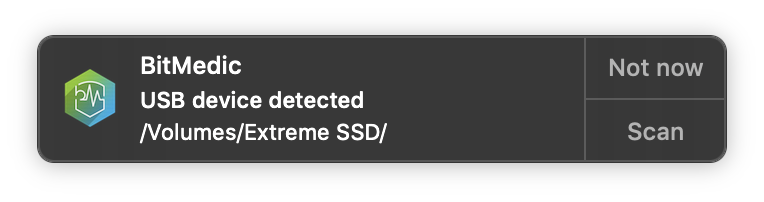
Under system settings, you’ll also have access to other features including “automatically scan new USB drives” which will scan anything that gets plugged in for threats.
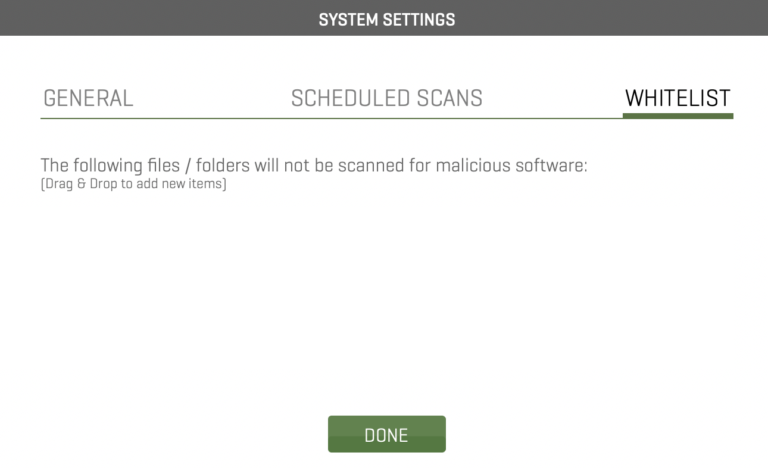
We’ve also recently added the “Whitelist” feature for your convenience. Just add any locations that you don’t want scanned to save time during scanning.
For any additional questions, please email us at support@pocketbitsllc.com
Hope you found this helpful! Let us know below, so we can improve our support. 🙂